How to Use Llama 3.2 Vision Models: From Local Inference to API Integration, part 2
In the last blog post, we explored different ways to use Llama 3.2 vision models for local inference. As expected, local inference requires a sophisticated hardware setup to run vision models. Additionally, the Llama 3.2 90B vision model is too large to fit on most desktop or laptop setups. In this post, we'll focus on using third-party cloud-based LLM inference services, such as Groq or Together AI, to implement the vision models.
They all offer similar features, such as a user-friendly interface (playground) and an API for using open-source LLMs. Let's start with Groq.
Using Groq inference for Llama 3.2 90B vision models.
Groq uses Application-Specific Integrated Circuits (ASICs), custom-built hardware optimized for tasks like AI and deep learning. This provides superior performance and energy efficiency for AI workloads. As pioneers in leveraging ASIC technology for inference platforms, Groq offers developers a free API to access their language models, providing flexibility without upfront costs. While usage limits apply—such as requests per minute and a daily limit of 5k tokens—these limits are generous enough to meet the daily needs of individual users. For more information about Groq and its capabilities, don't hesitate to read the sample chapter in the book "Getting started with Generative AI".
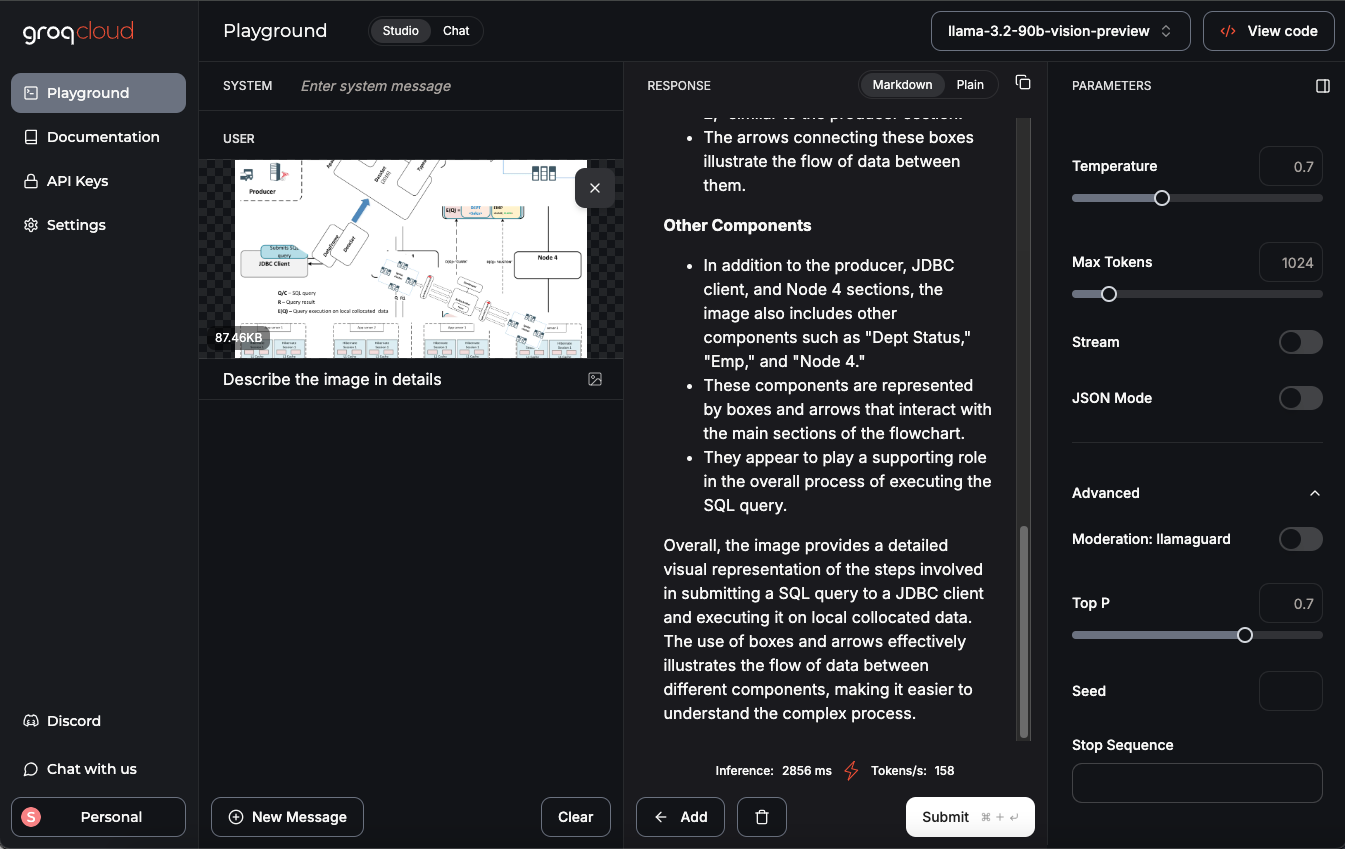
Sign up for the Groq cloud playground using your email address. After logging in, you'll be taken to the playground page, where you can select an LLM from the dropdown menu and start interacting. For this example, we will use the llama-3.2-90b-vision-preview model.

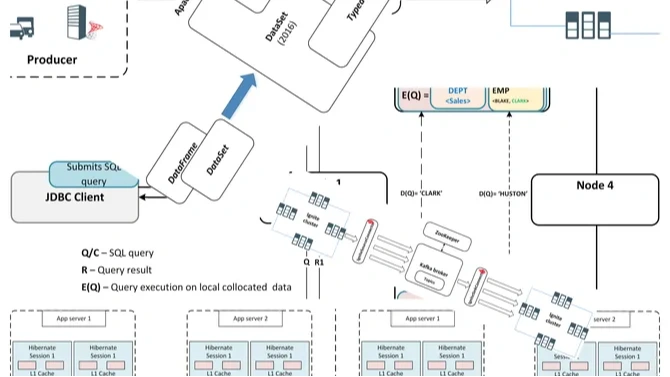
As an example, I uploaded an image from my landing page and asked the model to provide a detailed description. The result was impressive!

Llama 3.2 90B vision model return the following description:
The image presents a complex flowchart illustrating the process of querying data from a database. The chart is divided into several sections, each representing a different stage in the query execution process.

**Producer Section:**

*   The producer section is located at the top-left corner of the image.
*   It features a series of boxes with labels such as "App Server 1," "Hibernate Session 1," and "Hibernate Session 2."
*   These boxes are connected by arrows, indicating the flow of data between them.
*   A blue arrow points to the "JDBC Client" box, which is labeled as the "Submit SQL Query" step.

**JDBC Client Section:**

*   The JDBC client section is situated below the producer section.
*   It contains a single box labeled "JDBC Client," which is connected to the "Submit SQL Query" box via a blue arrow.
*   This section appears to be responsible for submitting SQL queries to the database.

**Database Section:**

*   The database section is located at the center of the image.
*   It features a large box labeled "Database (DB6)," which is surrounded by several smaller boxes representing different types of data, such as "Types," "Tables," and "Indexes."
*   Arrows connect these smaller boxes to the "Database (DB6)" box, indicating the relationships between them.
*   A blue arrow points from the "Database (DB6)" box to the "Node 4" box, suggesting that the query results are being returned to Node 4.

**Node 4 Section:**

*   The Node 4 section is located at the bottom-right corner of the image.
*   It consists of a single box labeled "Node 4," which is connected to the "Database (DB6)" box via a blue arrow.
*   This section likely represents the final destination of the query results.

**Other Elements:**

*   Throughout the image, there are various other elements, including:
    *   A series of small boxes labeled "App Server 1" and "App Server 2," which appear to represent different application servers.
    *   Several boxes labeled "Hibernate Session 1" and "Hibernate Session 2," which suggest that the system is using Hibernate as an ORM tool.
    *   A few boxes labeled "Cache," which may indicate caching mechanisms being used in the system.

Overall, the image provides a detailed overview of the query execution process, highlighting the key components involved and their relationships with one another.
You can upload your own images or invoices to experiment with the model. Additionally, you can use the Groq API from any Python environment to interact with the vision model. To do this, simply generate an API key. Below is a complete example demonstrating how to use the Groq API to interact with the LLM. You can use Google colab or local Jupyter lab to execute the code.
!pip install Groq
from groq import Groq

from google.colab import userdata
key = userdata.get('GROQ_API_KEY')

client = Groq(api_key=key)
model_name="llama-3.2-90b-vision-preview"
IMAGE_DATA_URL="https://static.craftum.com/HMonoSnH_i4wZBPY9Cfv0Kt7p8g=/2000x0/filters:no_upscale()/https://274418.selcdn.ru/cv08300-33250f0d-0664-43fc-9dbf-9d89738d114e/uploads/67414/3b84ff56-af7e-4405-8382-2e599be3bf09.png"

response = client.chat.completions.create(
    model=model_name,
    messages=[
        {
            "role": "user",
            "content": [
                {
                    "type": "text",
                    "text": "Describe the Image in details"
                },
                {
                    "type": "image_url",
                    "image_url": {
                        "url": IMAGE_DATA_URL
                    }
                }
            ]
        }
    ],
    temperature=0.7,
    max_tokens=1024,
    top_p=1,
    stream=False,
    stop=None,
)
print(response.choices[0].message.content)
Use your own Groq API key to access the LLM. After running the code successfully, you should see a result similar to what we demonstrated earlier.
Now, let's try our next candidate to use cloud LLM inference.
Using Together AI for Llama 3.2 90B vision models.
Together AI is a platform that focuses on making Large Language Models (LLMs) more accessible and scalable for developers and researchers. It offers infrastructure and tools to interact with various LLMs, including both open-source and proprietary models, through APIs and User interface. APIs and UI is very similar to Groq.
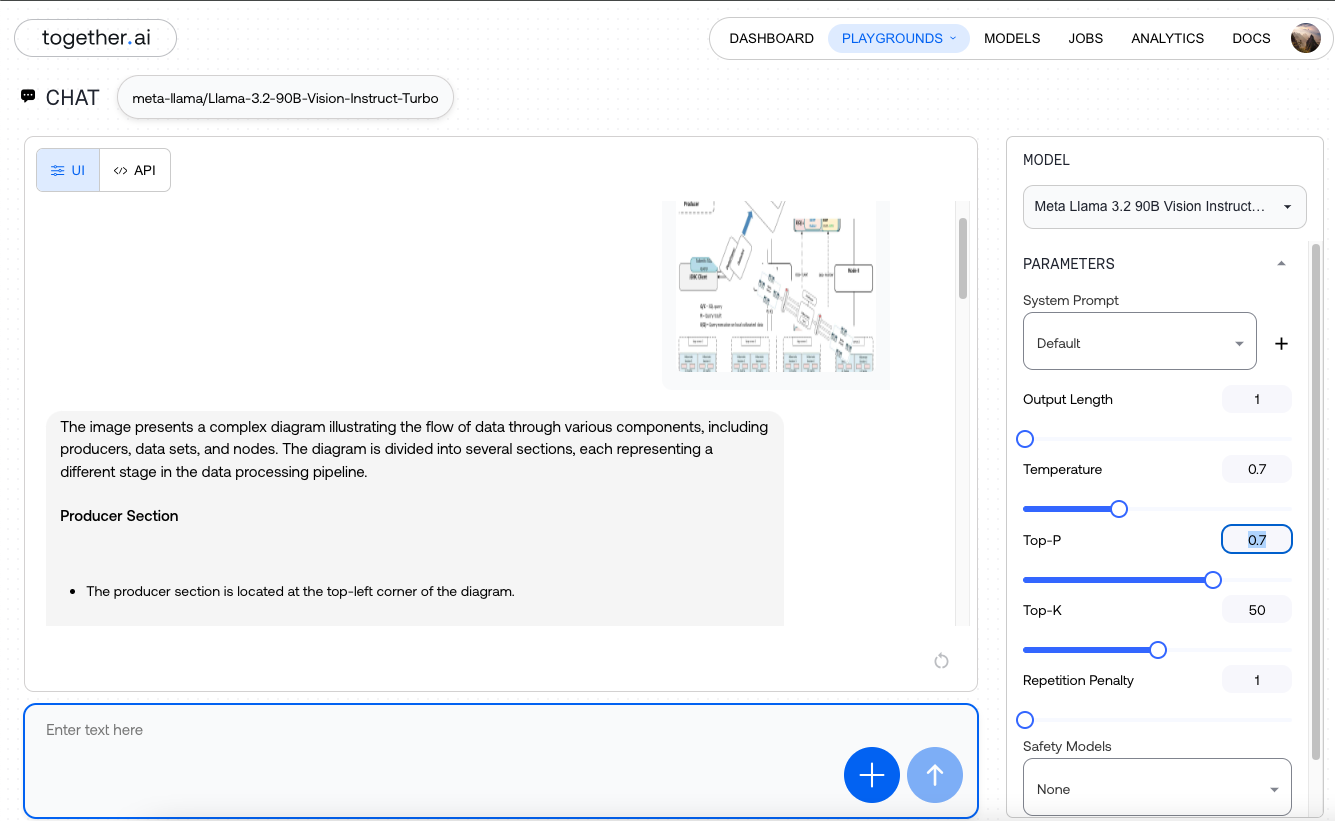
After signup and login you can use the playgrounds UI to chat with the LLM. In our case we are using Llama 3.2 90B vision model for experiment.

Similar to the previous steps, you can upload your image, set parameters like temperature, and provide a prompt such as, "Describe the image in detail."
As usual you can use API to interact with the mode as same before. You need your own API key and use any preferred platform like Colab or Jupyter.
!pip install Together
from together import Together
from google.colab import userdata
key = userdata.get('TOGETHER_API_KEY')

client = Together(api_key=key)
IMAGE_DATA_URL="https://static.craftum.com/HMonoSnH_i4wZBPY9Cfv0Kt7p8g=/2000x0/filters:no_upscale()/https://274418.selcdn.ru/cv08300-33250f0d-0664-43fc-9dbf-9d89738d114e/uploads/67414/3b84ff56-af7e-4405-8382-2e599be3bf09.png"

response = client.chat.completions.create(
    model="meta-llama/Llama-3.2-90B-Vision-Instruct-Turbo",
    messages=[
        {
                "role": "user",
                "content": [
                        {
                                "type": "text",
                                "text": "Describe the Image in details"
                        },
                        {
                                "type": "image_url",
                                "image_url": {
                                        "url": IMAGE_DATA_URL
                                }
                        }
                ]
        }

    ],
    max_tokens=512,
    temperature=0.7,
    top_p=0.7,
    top_k=50,
    repetition_penalty=1,
    stop=["<|eot_id|>","<|eom_id|>"]
)
print(response.choices[0].message.content)
The result should be similar to what we observed earlier.
In summary, both Groq and Together AI provide infrastructure and tools for interacting with various LLMs, including open-source and proprietary models, through APIs. They allow users to run and interact with large models in the cloud, offering access to high-performance language models without the need to set up their own infrastructure. The platforms provide APIs that enable users to integrate LLMs into their applications, facilitating easy communication with the models for tasks such as text generation, question answering, and image visioning.